Sunday, May 26, 2024

Carrot Zucchini Muffins #MuffinMonday

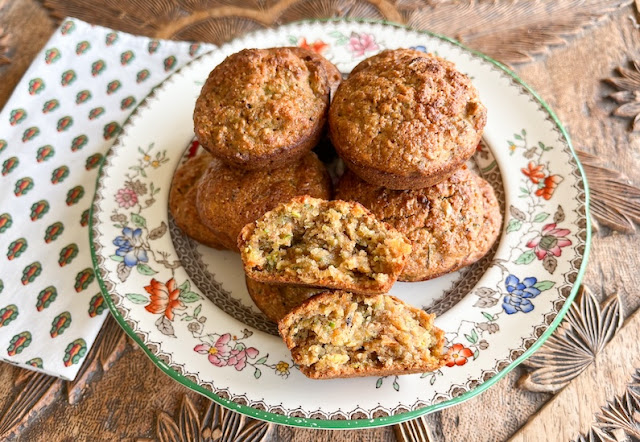
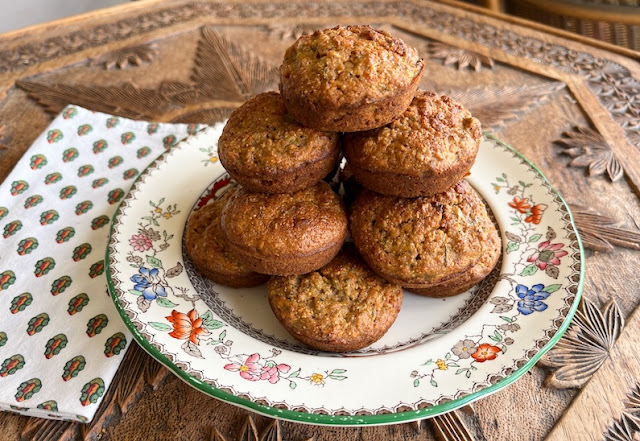
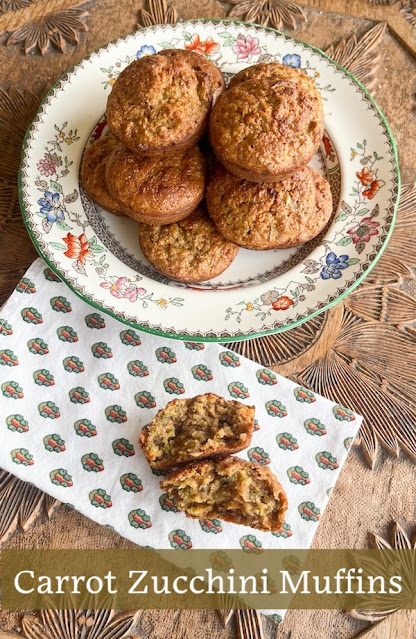
Sweet and tender, these carrot zucchini muffins are baked with a mix of white and whole wheat flour, sweetened with honey and full of healthy vegetables!

Food Lust People Love: Sweet and tender, these carrot zucchini muffins are baked with a mix of white and whole wheat flour, sweetened with honey and full of healthy vegetables!

It’s the last Monday of the month AGAIN. You’d think after this many years of participating in Muffin Monday it wouldn’t be able to sneak up on me but you would be wrong. It happens almost every month. 

To complicate matters further, I am traveling today, in anticipation of a wedding party in London this weekend. I am all aflutter, packing and planning! We can’t wait to see the happy couple and the friends and family as well. It should be a lovely weekend of celebrations and catching up. 

Carrot Zucchini Muffins

These guys didn’t rise as much as I thought they would and I’m not sure why because they were light enough, just not very big. The important thing is that they are tasty, right? This recipe was adapted from one on Cupcakes and Kale Chips.

Ingredients
1 cup or 125g all-purpose flour
1/2 cup or 60g whole wheat flour
1 teaspoon baking powder
1 teaspoon cinnamon
1/2 teaspoon baking soda
1/4 teaspoon fine sea salt
1 cup or 180g finely grated zucchini, lightly pressed to get rid of excess liquid
1/2 cup or 75g finely grated carrot
1/2 cup or 120ml honey
1 large egg
1/4 cup or 60ml canola or other light oil, plus extra for greasing the pan

Method
Preheat your oven to 350°F or 180°C and prepare a 12-cup muffin pan by oiling it or lining it with paper muffin cups.

In a large mixing bowl, whisk together the flours, baking powder, cinnamon, baking soda and salt.


Add the grated vegetables to the flour mixture and toss to coat. I use a fork to lightly separate any clumps.


In another mixing bowl, whisk together the egg, honey and canola oil until homogeneous. 


Add the wet ingredients to the flour mixture and fold until just combined.


Divide the batter between the muffin cups.


Bake for 20-25 minutes or until a toothpick inserted in the center of a muffin comes out clean.

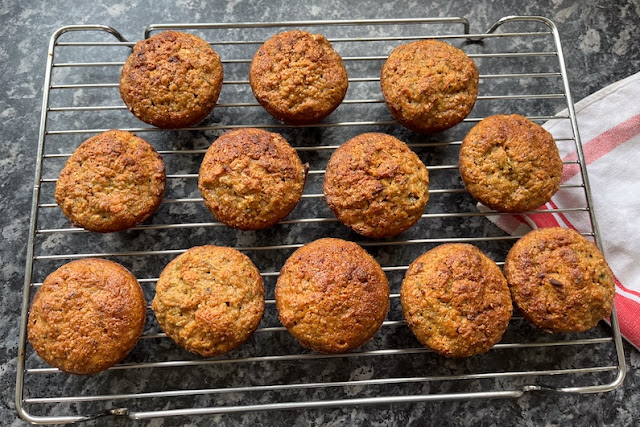
Let cool in pan for a few minutes before removing to a cooling rack to cool completely before storing in an airtight container. 

Food Lust People Love: Sweet and tender, these carrot zucchini muffins are baked with a mix of white and whole wheat flour, sweetened with honey and full of healthy vegetables!

Or serve them warm! Everybody loves warm muffins.

Food Lust People Love: Sweet and tender, these carrot zucchini muffins are baked with a mix of white and whole wheat flour, sweetened with honey and full of healthy vegetables!

Enjoy! 

As I mentioned above, it’s time for Muffin Monday! Check out the muffins my baker friends are sharing with us today: 


#MuffinMonday is a group of muffin loving bakers who get together once a month to bake muffins. You can see all of our lovely muffins by following our Pinterest board. Updated links for all of our past events and more information about Muffin Monday can be found on our home page.


Pin these Carrot Zucchini Muffins! 

Food Lust People Love: Sweet and tender, these carrot zucchini muffins are baked with a mix of white and whole wheat flour, sweetened with honey and full of healthy vegetables!

 .

Saturday, May 25, 2024

Dirty Bloody Mary Martini

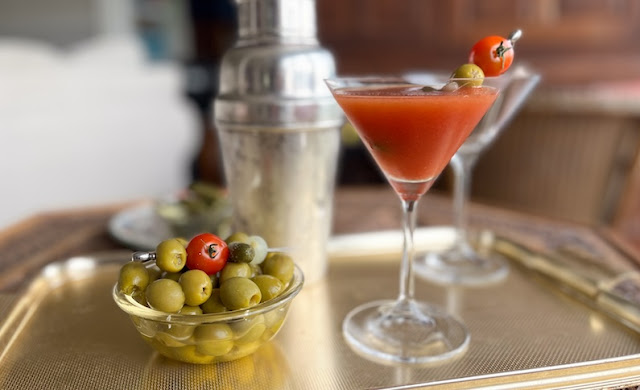
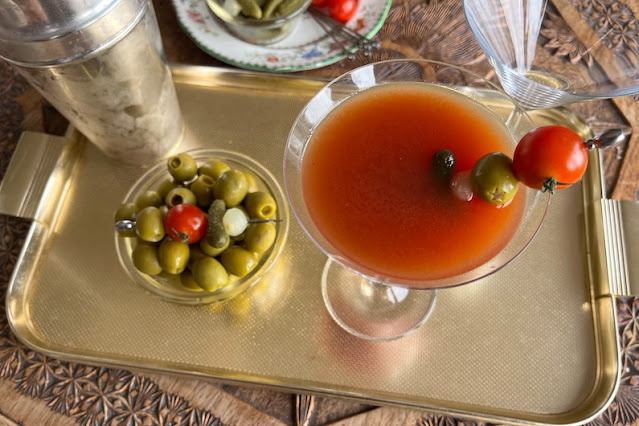
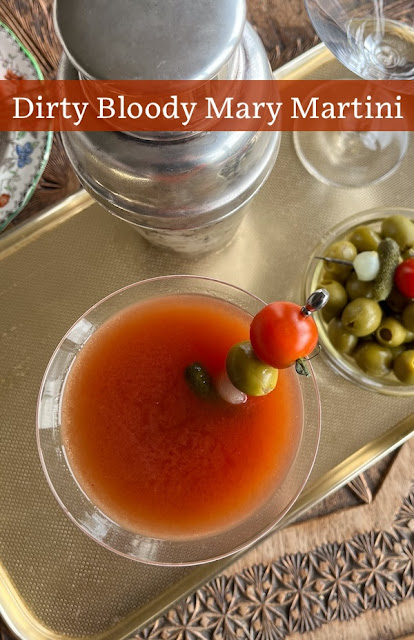
The arranged marriage between Ms. Bloody Mary and Mr. Dirty Martini, this Dirty Bloody Mary Martini should please the lovers of both savory cocktails. No need to choose the bride’s or groom’s side. Sit on either side of the aisle. We are all family here. 

Food Lust People Love: The arranged marriage between Ms. Bloody Mary and Mr. Dirty Martini, this Dirty Bloody Mary Martini should please the lovers of both savory cocktails. No need to choose the bride’s or groom’s side. Sit on either side of the aisle. We are all family here.

There are probably as many Bloody Mary recipes as there are bartenders but the classic contains tomato juice, vodka, hot sauce and Worcestershire sauce. Likewise, a dirty martini contains the same ingredients as a classic one, vodka or gin and a hint of extra dry vermouth with the lovely, in my opinion, addition of olive juice. 

Individually, they are two of my favorite drinks. Married together I love them even better! 

Dirty Bloody Mary Martini

I like to use the olives stuffed with anchovies for an extra boost of savory flavor. You can use your favorite cured green olives, of course.

Ingredients
2 oz or 60ml vodka
1 tablespoon olive juice (preferably from green olives stuffed with anchovies)
2 teaspoons tomato paste
1 1/2 teaspoons extra dry vermouth
Dash or two Worcestershire sauce
Dash or two hot pepper sauce
2-3 cubes ice

Options for garnish: Stuffed olives, cherry tomatoes, pickled onions, cornichons, etc. 


Method
In a cocktail shaker, combine vodka, olive juice, tomato paste, dry vermouth, Worcestershire sauce and hot sauce.


Add ice, cover, and shake vigorously. 


Strain the mixture into a martini glass.


Add a skewer filled with your favorite garnishes/snacks.

Food Lust People Love: The arranged marriage between Ms. Bloody Mary and Mr. Dirty Martini, this Dirty Bloody Mary Martini should please the lovers of both savory cocktails. No need to choose the bride’s or groom’s side. Sit on either side of the aisle. We are all family here.

Enjoy!

It's Sunday Fun Day so my friends and I are sharing summer cocktails and mocktails to make your day more special. Check out the links below: 

 
We are a group of food bloggers who believe that Sunday should be a family fun day, so every Sunday we share recipes that will help you to enjoy your day. If you're a blogger interested in joining us, just visit our Facebook group and request to join.


Pin this Dirty Bloody Mary Martini!

Food Lust People Love: The arranged marriage between Ms. Bloody Mary and Mr. Dirty Martini, this Dirty Bloody Mary Martini should please the lovers of both savory cocktails. No need to choose the bride’s or groom’s side. Sit on either side of the aisle. We are all family here.

 .

Tuesday, May 21, 2024

Korean Barbecue-style Meatballs

These tasty Korean barbecue-style meatballs are made with both pork and beef, seasoned with garlic, ginger, brown sugar, soy and gochujang paste. Roasted in a hot oven, they caramelize beautifully! 

Food Lust People Love: These tasty Korean barbecue-style meatballs are made with both pork and beef, seasoned with garlic, ginger, brown sugar, soy and gochujang paste. Roasted in a hot oven, they caramelize beautifully!

Serve these delightful sweet and savory bites simply with forks or toothpicks as an appetizer or with rice and/or vegetables as a main course. I like to drizzle the rice with kecap manis – sweet soy sauce – or just more regular soy sauce. Either way, the meatballs are wonderful and bursting with flavor.

Korean Barbecue-style Meatballs

The meatball mixture can be made ahead, covered and refrigerated for three hours or even overnight. You can use all beef for the mixture but make sure it is at least 80 lean/20 percent fat so you don’t end up with dry meatballs. I prefer the mix of beef and pork. This recipe is adapted from one in New York Times Cooking. cooking.nytimes.com/recipes/1019763-korean-barbecue-style-meatballs

Ingredients
8 oz or 225g ground beef 
8 oz or 225g ground pork 
4 whole green onions/scallions
2 in or 5cm knob fresh ginger, peeled
5 cloves garlic 
1/2 cup or 38g panko 
2 tablespoons low-sodium soy sauce
2 tablespoons gochujang paste
2 tablespoons, firmly packed, dark brown sugar
2 teaspoons toasted sesame oil
1/4 – 1/2 teaspoon fine sea salt
A few generous grinds of black pepper

Optional to garnish: chopped cilantro or parsley leaves

Method
Heat your oven to 425° or 218°C. Use a small food processor to mince the ginger, garlic and the white parts of your green onions. Chop the green part of the green onions with a sharp knife.


In a large bowl, combine all of the ingredients, including the minced items and the chopped green onion.  


Use your hands or a firm spatula to gently mix it all together till homogeneous.


At this point of any meatball or patty recipe, I always recommend you cook just a little of the mixture to see if it needs more salt. This pan is my tiny one for frying a single egg so you can see how little I cooked. Add more salt, if needed. 


Use a spoon or small cookie dough scoop to divide the meat mixture on to a baking pan lined with foil or a silicone liner. With damp hands, shape the meat into balls. As you can see from the baked photo. I made 27 bite-sized balls.


Bake until golden and cooked through, about 10-12 minutes. Broil for a further 2-3 minutes if you’d like them darker brown. The pan looks like the juices burned but I am here to tell you that once it cooled, we were scraping that off with our bare fingers and eating it! So good! 


Serve warm, sprinkled with a little chopped cilantro or parsley, if desired.

Food Lust People Love: These tasty Korean barbecue-style meatballs are made with both pork and beef, seasoned with garlic, ginger, brown sugar, soy and gochujang paste. Roasted in a hot oven, they caramelize beautifully!

If you are going the rice route, pop the meatballs on top with a little extra soy or sweet soy sauce. 

Food Lust People Love: These tasty Korean barbecue-style meatballs are made with both pork and beef, seasoned with garlic, ginger, brown sugar, soy and gochujang paste. Roasted in a hot oven, they caramelize beautifully!

Enjoy! 

Welcome to the 11th edition of the 2024 Alphabet Challenge, brought to you by the letter K. Many thanks to Wendy from A Day in the Life on the Farm for organizing and creating the challenge. Check out all the K recipes below:


Here are my posts for the alphabet challenge, thus far:
A: Anchovy Deviled Eggs
B: Spicy Braised Ginger Pork Belly
C: Cecilie's Favorite Coleslaw
D: Cajun Chicken Eggplant Dressing
E: Everything Pizza Tartin
F: Baked Chicken and Feta Meatballs
G: Grape Juice Jigglers
H: Crispy Bacon-wrapped Chicken Hearts
I: Raspberry Rhubarb Ice Cream
J: Java Dry Spice Mix Chops 
K. Korean Barbecue-style Meatballs - this post!


Pin these Korean Barbecue-style Meatballs! 

Food Lust People Love: These tasty Korean barbecue-style meatballs are made with both pork and beef, seasoned with garlic, ginger, brown sugar, soy and gochujang paste. Roasted in a hot oven, they caramelize beautifully!

 .

Saturday, May 18, 2024

Fresas con Crema - Strawberries and Mexican Cream

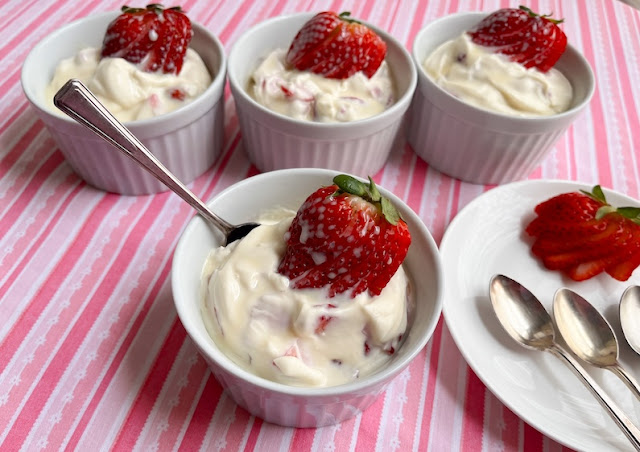
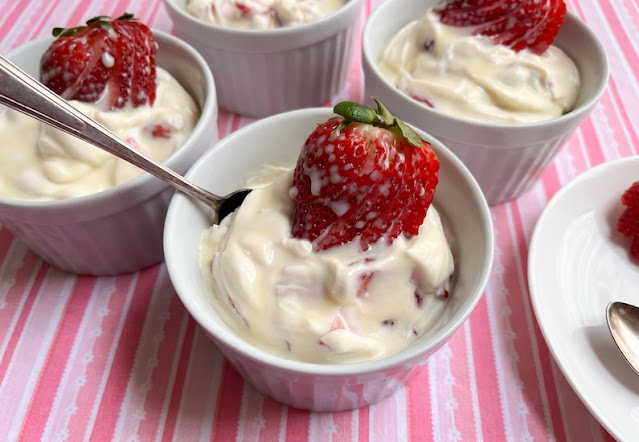
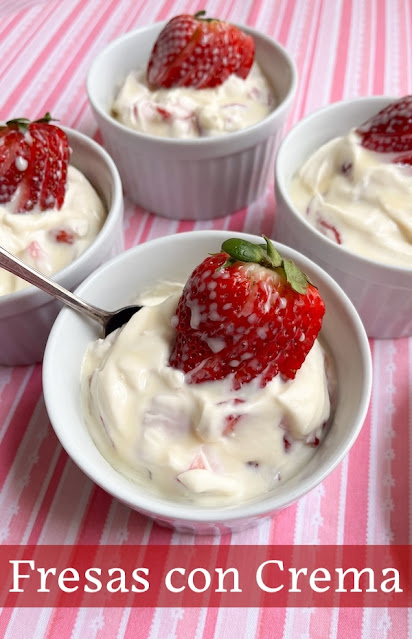
Fresas con Crema is a simple and delicious dessert made from strawberries and Mexican cream, known as crema, a rich store-bought dairy product prepared with two ingredients, heavy cream and buttermilk.

Food Lust People Love: Fresas con Crema is a simple and delicious dessert made from strawberries and Mexican cream, known as crema, a rich store-bought dairy product prepared with two ingredients, heavy cream and buttermilk.

Crema is often used as a topping for savory dishes like tacos, chimichangas or as one of the fillings in burritos but it is also excellent in sweet dishes, like this one, or as a topping for fruit tarts. It’s quite rich and a little bit tangy but less tart than our sour cream, more like crème fraiche.

In Texas, just about every supermarket carries crema, sometimes even from a selection of producers, including a store brand. I've discovered that some are more tangy, even a bit salty, and some are more mild. I actually did that research looking for/hoping to find a crema that I could substitute for clotted cream. 

Some might have done okay but I was responsible for bringing said clotted cream to a bridal shower and, well, I didn't want to let the side down. After all, if you are putting clotted cream on a scone, it's right out there for everyone to judge. I ended up making my own which is a whole 'nother nightmare I might share with you some day. 

Fresas con Crema - Strawberries and Mexican Cream

If Mexican crema isn’t available in your local store, you can substitute clotted cream. You can also sub in sour cream or crème fraiche and skip or reduce the amount of lime, if desired. This may mean that your cream will need a little longer to “set” but it will still taste delicious. 

Ingredients to serve four
1 cup or 200g Mexican crema
1/2 cup or 120ml heavy cream
3 tablespoons sweetened condensed milk, plus extra for drizzling, if desired
1 tablespoon fresh lime juice 
1 teaspoon vanilla extract
3 cups or 440g (weight after hulling) chopped fresh strawberries, plus 4 more for garnish, if desired.


Method
Divide the chopped strawberries among 4 serving dishes or ramekins. 


In a small bowl, whisk the crema, heavy cream, sweetened condensed milk, lime juice and vanilla.


Top the strawberries with the cream mixture and quickly stir a little to mix it with some of the chopped strawberries. It starts to firm up immediately so do not tarry. 


To garnish with the extra strawberries, you can simple pop one on top each of the bowls, or carefully make slices in the berry, leaving the hull intact, then press gently down to fan the slices out. 


Drizzle the tops with a little more condensed milk, if desired. Serve immediately or keep chilled until ready to serve. 

Food Lust People Love: Fresas con Crema is a simple and delicious dessert made from strawberries and Mexican cream, known as crema, a rich store-bought dairy product prepared with two ingredients, heavy cream and buttermilk.

Enjoy! 


It’s Sunday FunDay and today we are sharing recipes with strawberries! Many thanks to our host, Sue of Palatable Pastime. Check out the links below:


We are a group of food bloggers who believe that Sunday should be a family fun day, so every Sunday we share recipes that will help you to enjoy your day. If you're a blogger interested in joining us, just visit our Facebook group and request to join.


Pin these Fresas con Crema! 

Food Lust People Love: Fresas con Crema is a simple and delicious dessert made from strawberries and Mexican cream, known as crema, a rich store-bought dairy product prepared with two ingredients, heavy cream and buttermilk.

 .

Tuesday, May 14, 2024

Parbaked Gluten Free Pizza Crust #BreadBakers

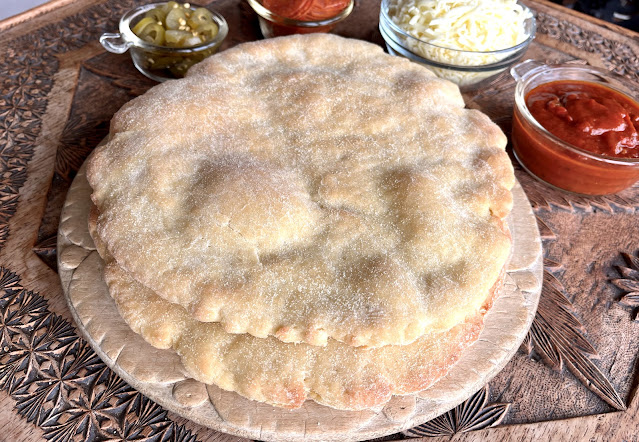
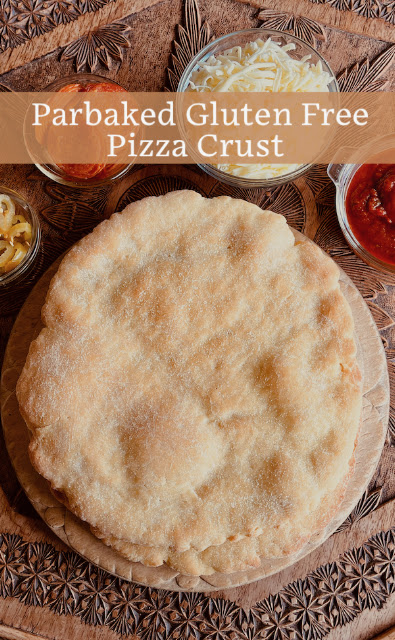
Long proofing and the addition of baking powder ensure that this parbaked gluten free pizza crust is chewy, crunchy and able to support all the toppings you love.

Food Lust People Love: Long proofing and the addition of baking powder ensure that this parbaked gluten free pizza crust is chewy, crunchy and able to support all the toppings you love.

Gluten free dough for something quick-baked like pizza is a challenge when regular pizza dough sets such a high standard of crunch, chewiness and texture. I like to add a little cornmeal to the dough – and use it when rolling it out to bake – which helps a lot. 

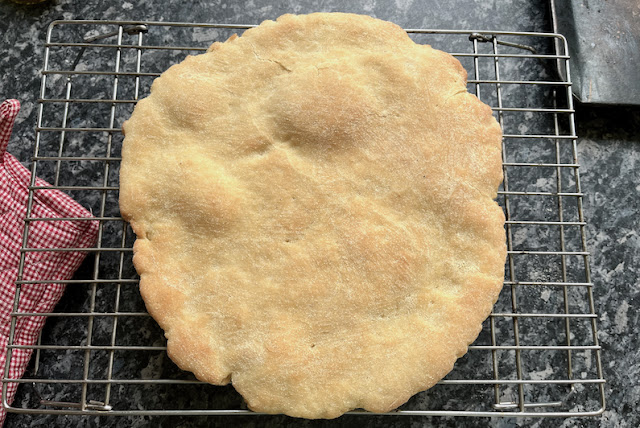
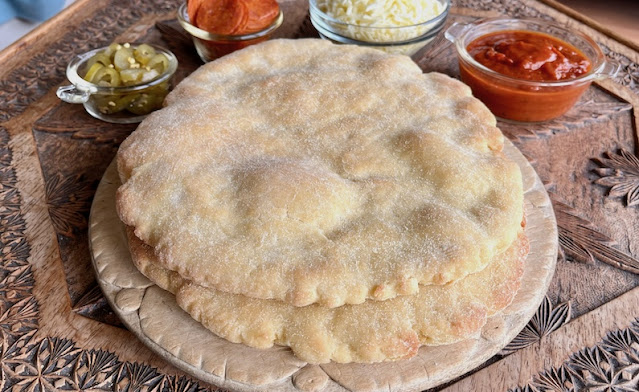
Is this the same as your favorite gluten-full pizza crust? Not exactly. But it’s darn close. The secret is partially baking it just so it rises but doesn’t really brown much. Parbaking the crust means that it retains its shape and texture, even when toppings are added. Best of all, parbaked crusts can be frozen or refrigerated for future pizza nights. 

Parbaked Gluten Free Pizza Crust

As per Serious Eats, 95°F or 35°C is the best temperature for yeast to multiply, but that's not quite warm enough for proofing active dry yeast. It needs the extra warmth to dissolve and become active. If you have a thermometer, employ it when warming your water to the specified temperature range.

Ingredients
2 ¼ teaspoons or 7g active dry yeast
1 cup or 240ml warm water (between 105-110°F or 40-43°C)
1 tablespoon sugar
2 ½ cups or 400g gluten free bread flour (with xanthan gum) plus extra for kneading (I used Freee White Bread Flour.) 
1/4 cup or 60g cornmeal plus extra for rolling out the pizza crust
1 teaspoon fine sea salt
1 teaspoon baking powder
1 egg
5 tablespoons olive oil, plus extra for brushing on when baking
1 teaspoon apple cider vinegar

Method
Warm the water to the correct temperature range. I like to use a microwaveable measuring vessel with quick zaps of the microwave but a small pot over a low flame will also work. 


Stir in the sugar and the yeast and leave to prove for five minutes. Your yeast should start frothing up, showing that it has been activated by the warm water. 

In a large mixing bowl, whisk together the flour, baking powder and salt. 


In another mixing bowl, whisk together the egg, vinegar and olive oil. 


Stir in the water/yeast mixture.


Add in the wet ingredients to the dry ingredients bowl.


 Mix them together with a wooden spoon or Danish whisk until a sticky dough forms. 


Cover with cling film or a shower cap and place somewhere warm for 2-3 hours. 


After the rising time is up, preheat your oven to 425°F or 218°C and put the dough in fridge for 15 minutes to rest. This will make it easier to roll out.


Lightly flour a clean work surface and knead the dough with a good sprinkling of flour until it forms into a smooth ball. 


Avoid adding too much flour, just enough until a ball dough forms and the dough isn't as sticky.


Divide the dough into two even pieces. 

Sprinkle your work surface lightly with cornmeal and use a floured rolling pin to roll each piece of dough into a roughly 10 in or 25cm circle. 


Sprinkle a little more cornmeal on your baking pan and transfer the pizza crusts to a pan. Generously brush the top of the crusts with olive oil and bake for 12 minutes in the preheated oven.


Remove from the oven. Leave to cool completely and then store in a refrigerator or freezer, well wrapped, until you are ready to add toppings and bake again. 

Food Lust People Love: Long proofing and the addition of baking powder ensure that this parbaked gluten free pizza crust is chewy, crunchy and able to support all the toppings you love.

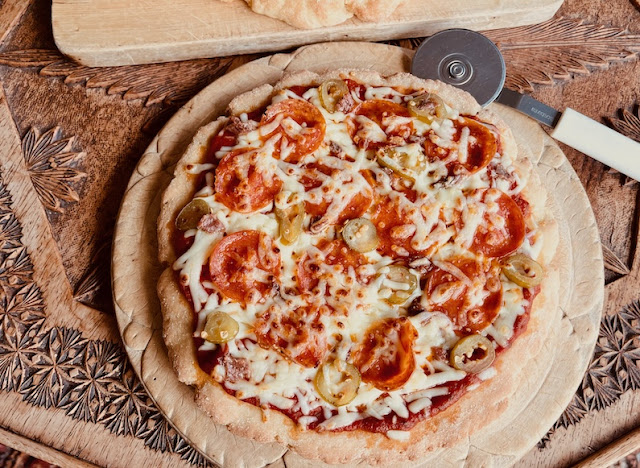
When ready to bake as pizza, add your favorite sauce and desired toppings. 

Leave to cool completely and then store in a refrigerator or freezer, well wrapped, until you are ready to add toppings and bake again.

Bake in an oven preheated to 425°F or 218°C for about 8-12 minutes, perhaps just a little longer if your crust was in the freezer. 

Remove from the oven and leave to cool for a few minutes. 

Food Lust People Love: Long proofing and the addition of baking powder ensure that this parbaked gluten free pizza crust is chewy, crunchy and able to support all the toppings you love.

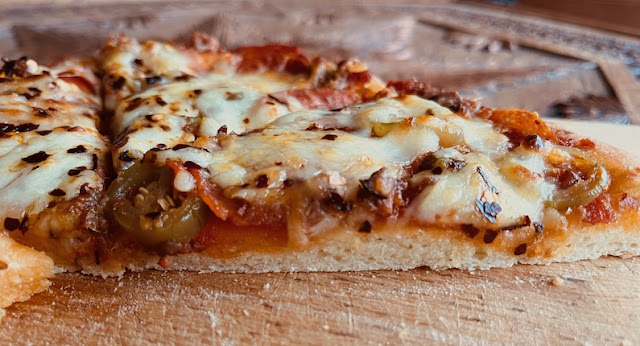
Cut in slices to serve.

#BreadBakers is a group of bread loving bakers who get together once a month to bake bread with a common ingredient or theme. Follow our Pinterest board right here. Links are also updated each month on this home page. We take turns hosting each month and choosing the theme/ingredient.

Enjoy!

It's the second Tuesday of the month which means it's time for my fellow Bread Bakers to share their recipes. Our theme today is gluten free pizza. Many thanks to our host, Renu of Cook with Renu. Check out the links:

#BreadBakers is a group of bread loving bakers who get together once a month to bake bread with a common ingredient or theme. Follow our Pinterest board right here. Links are also updated each month on this home page. We take turns hosting each month and choosing the theme/ingredient.


Pin this Parbaked Gluten Free Pizza Crust!

Food Lust People Love: Long proofing and the addition of baking powder ensure that this parbaked gluten free pizza crust is chewy, crunchy and able to support all the toppings you love.
 .