Saturday, May 18, 2024

Fresas con Crema - Strawberries and Mexican Cream

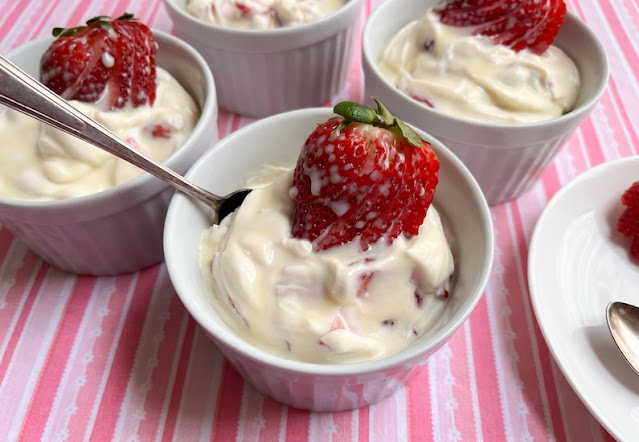
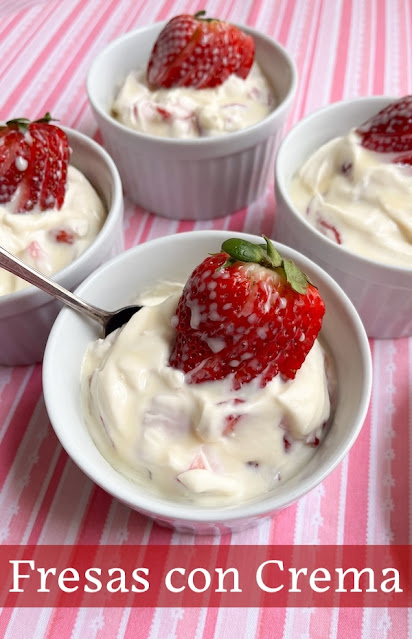
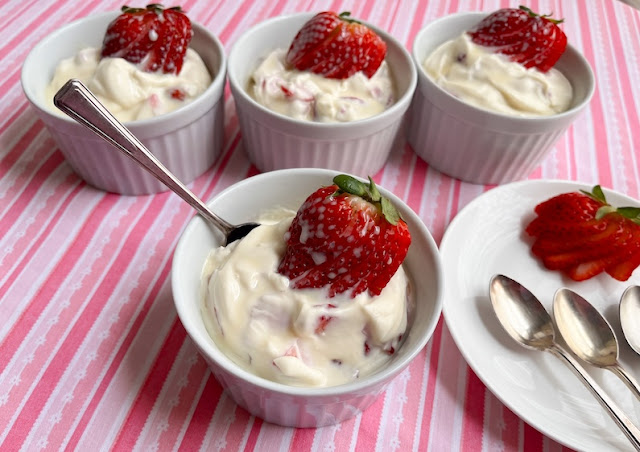
Fresas con Crema is a simple and delicious dessert made from strawberries and Mexican cream, known as crema, a rich store-bought dairy product prepared with two ingredients, heavy cream and buttermilk.

Food Lust People Love: Fresas con Crema is a simple and delicious dessert made from strawberries and Mexican cream, known as crema, a rich store-bought dairy product prepared with two ingredients, heavy cream and buttermilk.

Crema is often used as a topping for savory dishes like tacos, chimichangas or as one of the fillings in burritos but it is also excellent in sweet dishes, like this one, or as a topping for fruit tarts. It’s quite rich and a little bit tangy but less tart than our sour cream, more like crème fraiche.

In Texas, just about every supermarket carries crema, sometimes even from a selection of producers, including a store brand. I've discovered that some are more tangy, even a bit salty, and some are more mild. I actually did that research looking for/hoping to find a crema that I could substitute for clotted cream. 

Some might have done okay but I was responsible for bringing said clotted cream to a bridal shower and, well, I didn't want to let the side down. After all, if you are putting clotted cream on a scone, it's right out there for everyone to judge. I ended up making my own which is a whole 'nother nightmare I might share with you some day. 

Fresas con Crema - Strawberries and Mexican Cream

If Mexican crema isn’t available in your local store, you can substitute clotted cream. You can also sub in sour cream or crème fraiche and skip or reduce the amount of lime, if desired. This may mean that your cream will need a little longer to “set” but it will still taste delicious. 

Ingredients to serve four
1 cup or 200g Mexican crema
1/2 cup or 120ml heavy cream
3 tablespoons sweetened condensed milk, plus extra for drizzling, if desired
1 tablespoon fresh lime juice 
1 teaspoon vanilla extract
3 cups or 440g (weight after hulling) chopped fresh strawberries, plus 4 more for garnish, if desired.


Method
Divide the chopped strawberries among 4 serving dishes or ramekins. 


In a small bowl, whisk the crema, heavy cream, sweetened condensed milk, lime juice and vanilla.


Top the strawberries with the cream mixture and quickly stir a little to mix it with some of the chopped strawberries. It starts to firm up immediately so do not tarry. 


To garnish with the extra strawberries, you can simple pop one on top each of the bowls, or carefully make slices in the berry, leaving the hull intact, then press gently down to fan the slices out. 


Drizzle the tops with a little more condensed milk, if desired. Serve immediately or keep chilled until ready to serve. 

Food Lust People Love: Fresas con Crema is a simple and delicious dessert made from strawberries and Mexican cream, known as crema, a rich store-bought dairy product prepared with two ingredients, heavy cream and buttermilk.

Enjoy! 


It’s Sunday FunDay and today we are sharing recipes with strawberries! Many thanks to our host, Sue of Palatable Pastime. Check out the links below:


We are a group of food bloggers who believe that Sunday should be a family fun day, so every Sunday we share recipes that will help you to enjoy your day. If you're a blogger interested in joining us, just visit our Facebook group and request to join.


Pin these Fresas con Crema! 

Food Lust People Love: Fresas con Crema is a simple and delicious dessert made from strawberries and Mexican cream, known as crema, a rich store-bought dairy product prepared with two ingredients, heavy cream and buttermilk.

 .

Tuesday, May 14, 2024

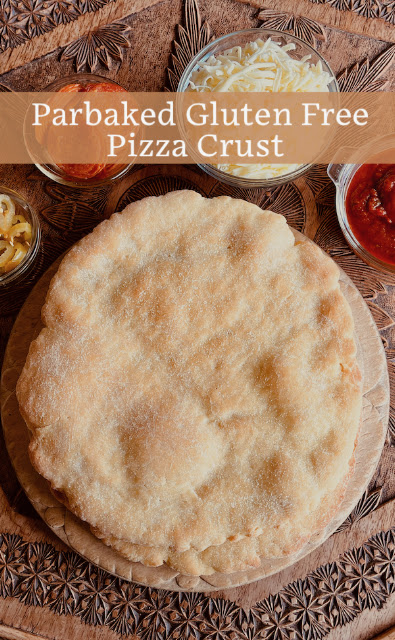
Parbaked Gluten Free Pizza Crust #BreadBakers

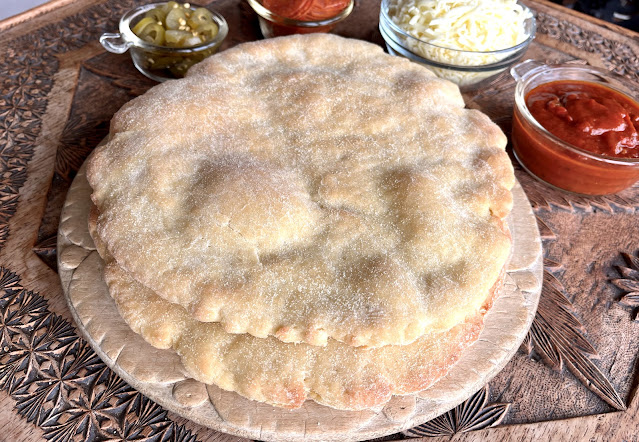
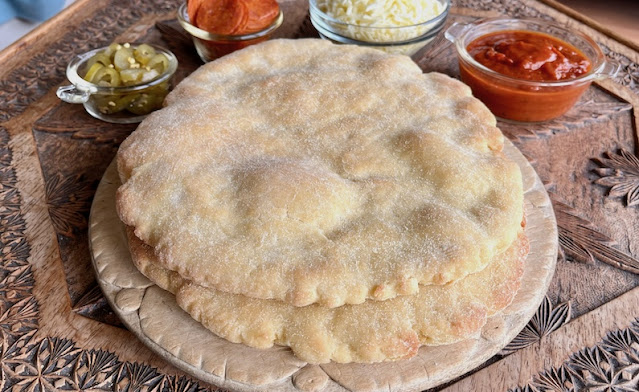
Long proofing and the addition of baking powder ensure that this parbaked gluten free pizza crust is chewy, crunchy and able to support all the toppings you love.

Food Lust People Love: Long proofing and the addition of baking powder ensure that this parbaked gluten free pizza crust is chewy, crunchy and able to support all the toppings you love.

Gluten free dough for something quick-baked like pizza is a challenge when regular pizza dough sets such a high standard of crunch, chewiness and texture. I like to add a little cornmeal to the dough – and use it when rolling it out to bake – which helps a lot. 

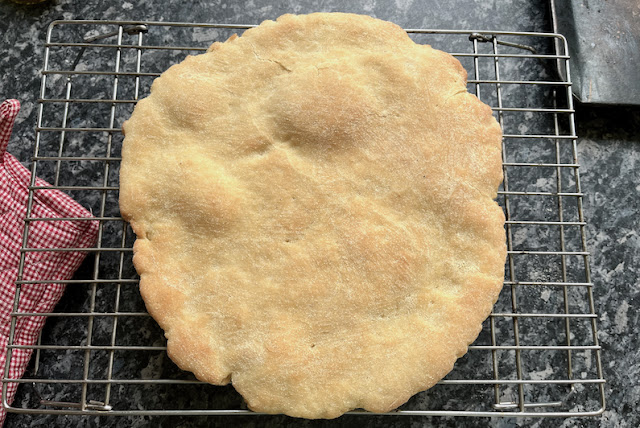
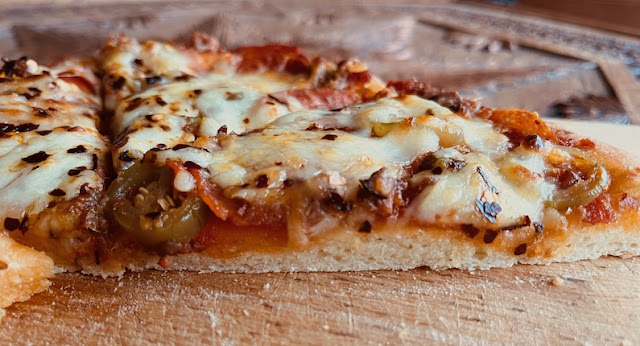
Is this the same as your favorite gluten-full pizza crust? Not exactly. But it’s darn close. The secret is partially baking it just so it rises but doesn’t really brown much. Parbaking the crust means that it retains its shape and texture, even when toppings are added. Best of all, parbaked crusts can be frozen or refrigerated for future pizza nights. 

Parbaked Gluten Free Pizza Crust

As per Serious Eats, 95°F or 35°C is the best temperature for yeast to multiply, but that's not quite warm enough for proofing active dry yeast. It needs the extra warmth to dissolve and become active. If you have a thermometer, employ it when warming your water to the specified temperature range.

Ingredients
2 ¼ teaspoons or 7g active dry yeast
1 cup or 240ml warm water (between 105-110°F or 40-43°C)
1 tablespoon sugar
2 ½ cups or 400g gluten free bread flour (with xanthan gum) plus extra for kneading (I used Freee White Bread Flour.) 
1/4 cup or 60g cornmeal plus extra for rolling out the pizza crust
1 teaspoon fine sea salt
1 teaspoon baking powder
1 egg
5 tablespoons olive oil, plus extra for brushing on when baking
1 teaspoon apple cider vinegar

Method
Warm the water to the correct temperature range. I like to use a microwaveable measuring vessel with quick zaps of the microwave but a small pot over a low flame will also work. 


Stir in the sugar and the yeast and leave to prove for five minutes. Your yeast should start frothing up, showing that it has been activated by the warm water. 

In a large mixing bowl, whisk together the flour, baking powder and salt. 


In another mixing bowl, whisk together the egg, vinegar and olive oil. 


Stir in the water/yeast mixture.


Add in the wet ingredients to the dry ingredients bowl.


 Mix them together with a wooden spoon or Danish whisk until a sticky dough forms. 


Cover with cling film or a shower cap and place somewhere warm for 2-3 hours. 


After the rising time is up, preheat your oven to 425°F or 218°C and put the dough in fridge for 15 minutes to rest. This will make it easier to roll out.


Lightly flour a clean work surface and knead the dough with a good sprinkling of flour until it forms into a smooth ball. 


Avoid adding too much flour, just enough until a ball dough forms and the dough isn't as sticky.


Divide the dough into two even pieces. 

Sprinkle your work surface lightly with cornmeal and use a floured rolling pin to roll each piece of dough into a roughly 10 in or 25cm circle. 


Sprinkle a little more cornmeal on your baking pan and transfer the pizza crusts to a pan. Generously brush the top of the crusts with olive oil and bake for 12 minutes in the preheated oven.


Remove from the oven. Leave to cool completely and then store in a refrigerator or freezer, well wrapped, until you are ready to add toppings and bake again. 

Food Lust People Love: Long proofing and the addition of baking powder ensure that this parbaked gluten free pizza crust is chewy, crunchy and able to support all the toppings you love.

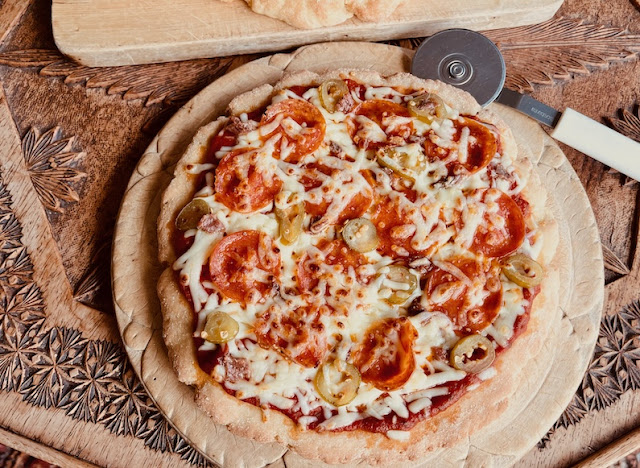
When ready to bake as pizza, add your favorite sauce and desired toppings. 

Leave to cool completely and then store in a refrigerator or freezer, well wrapped, until you are ready to add toppings and bake again.

Bake in an oven preheated to 425°F or 218°C for about 8-12 minutes, perhaps just a little longer if your crust was in the freezer. 

Remove from the oven and leave to cool for a few minutes. 

Food Lust People Love: Long proofing and the addition of baking powder ensure that this parbaked gluten free pizza crust is chewy, crunchy and able to support all the toppings you love.

Cut in slices to serve.

#BreadBakers is a group of bread loving bakers who get together once a month to bake bread with a common ingredient or theme. Follow our Pinterest board right here. Links are also updated each month on this home page. We take turns hosting each month and choosing the theme/ingredient.

Enjoy!

It's the second Tuesday of the month which means it's time for my fellow Bread Bakers to share their recipes. Our theme today is gluten free pizza. Many thanks to our host, Renu of Cook with Renu. Check out the links:

#BreadBakers is a group of bread loving bakers who get together once a month to bake bread with a common ingredient or theme. Follow our Pinterest board right here. Links are also updated each month on this home page. We take turns hosting each month and choosing the theme/ingredient.


Pin this Parbaked Gluten Free Pizza Crust!

Food Lust People Love: Long proofing and the addition of baking powder ensure that this parbaked gluten free pizza crust is chewy, crunchy and able to support all the toppings you love.

 .

Sunday, May 12, 2024

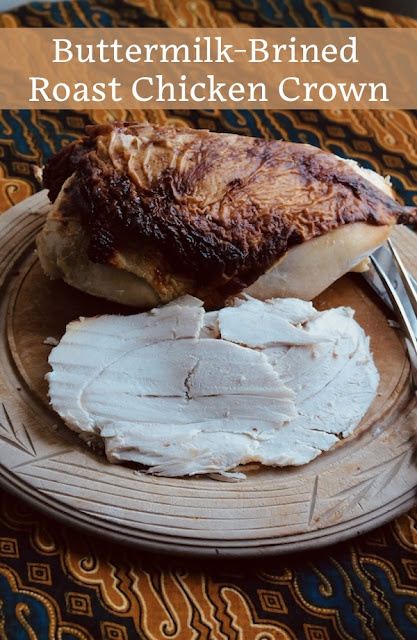
Buttermilk-Brined Roast Chicken Crown

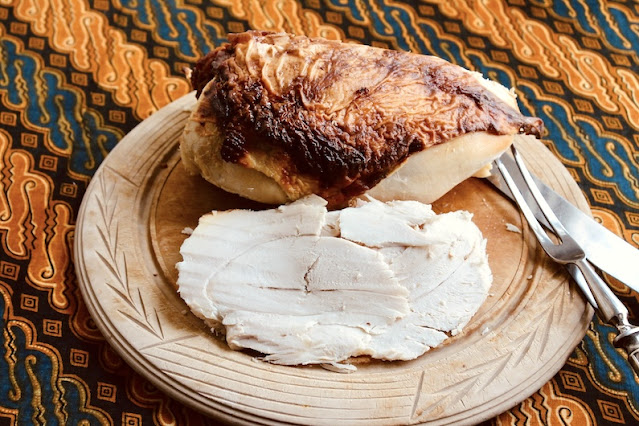
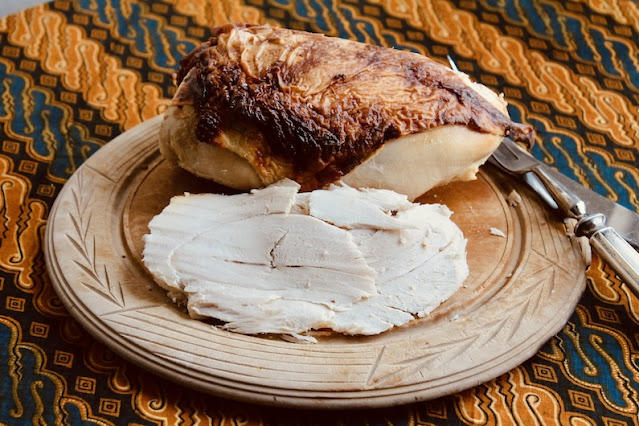
After 24 hours of marinating, and a hour + in a hot oven, this buttermilk-brined roast chicken crown is tender and juicy inside with the most delectable golden skin outside!

Food Lust People Love: After 24 hours of marinating, and a hour + in a hot oven, this buttermilk-brined roast chicken crown is tender and juicy inside with the most delectable golden skin outside!

We love a good Sunday roast dinner, especially for a special occasion like Mother’s Day and, frankly, I am much more likely to roast chicken than an expensive cut of beef. No pressure to get it exactly the right amount of rare! Add some roast potatoes, tasty onion gravy and some young peas and I’m happy. 

I don’t know why but it’s hard to find chicken crowns, an all-breast cut that still has the bones underneath left on. I was jumping around in my local grocery store when I happened to come across one, on sale no less, because my mom was never a fan of chicken legs or thighs. A chicken crown was pretty much her ideal bird for roasting. She loved this dish!

Buttermilk-Brined Roast Chicken Crown

This recipe is adapted from one on New York Time Cooking, where it was in turn adapted from the fabulous cookbook, Salt Fat Acid Heat, Mastering the Elements of Good Cooking by Samin Nosrat. If you haven’t read the book or watched the show on Netflix, I highly recommend both. 

Ingredients
1 chicken crown, weight about 4 lbs 4 oz or 1966g
Kosher salt or fine sea salt
2 cups or 480ml buttermilk (or substitute 3 tablespoons white vinegar in measuring cup filled to 2 cups with milk)
2 medium onions
1 small lemon

Method
The day before you want to roast it, season the chicken crown generously with salt and let it sit for 30 minutes.


Stir 2 tablespoons kosher salt or 4 teaspoons fine sea salt into the buttermilk to dissolve. Place the crown in a gallon-size resealable plastic bag and pour in the buttermilk. 

Seal the bag, squish the salty buttermilk all around the chicken, place on a rimmed plate, and refrigerate for 12 to 24 hours, turning the bag every once in a while. 


Pull the chicken from the fridge an hour before you plan to cook it. 

Heat the oven to 400°F or 180°C with your degrees with an iron skillet on a rack set in the center position.

Slice the onions in thick slices to act as a baking trivet. Poke the lemon all over with the sharp point of a knife. 


Remove the chicken crown from the plastic bag and scrape off as much buttermilk as you can. If the skin is riding up a little bit at the pointy end, use a toothpick or two to secure it.


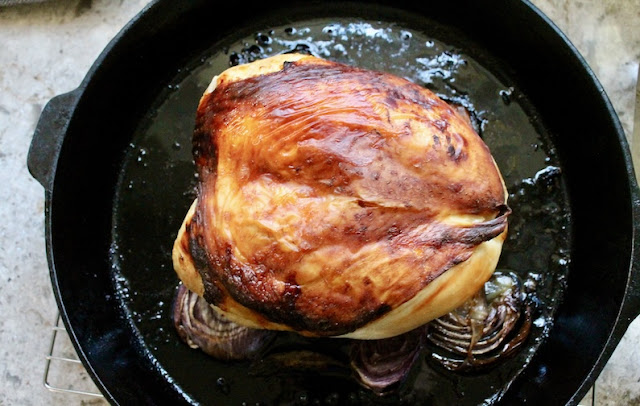
Carefully lay the sliced onions in the hot cast-iron skillet. 


Place the chicken on top, tucking the lemon underneath it. Put the hot skillet back in the oven. 

If you have eagle eyes, you might notice that I also put my Meater thermometer into the chicken crown at the thickest part. (The silver thing on the top left, with the black top.) It was a Christmas gift from my husband a few years back. The Meater runs with an app and tells me when the internal temperature has reached whatever I set it on. Like magic.


After about 20 minutes, when the chicken starts to brown, reduce the heat to 350°F or 180°C and turn the pan around. Cook until the internal temperature of the crown reaches 165°F or 74°C, about another hour.  

If the skin is getting too brown before it is cooked through, use a foil tent to protect it.  

Food Lust People Love: After 24 hours of marinating, and a hour + in a hot oven, this buttermilk-brined roast chicken crown is tender and juicy inside with the most delectable golden skin outside!

Once the chicken crown is cooked to the desired temperature, take it out of the skillet and put it on a board covered with a foil tent to rest for 10 minutes.

Carve to serve. Enjoy! 

Food Lust People Love: After 24 hours of marinating, and a hour + in a hot oven, this buttermilk-brined roast chicken crown is tender and juicy inside with the most delectable golden skin outside!

It's Sunday FunDay as well as Mother's Day in the United States so my friends and I are sharing recipes for a mom pleasing brunch! Many thanks to our host, Amy of Amy's Cooking Adventures. Check out the Mother's Day brunch links:

We are a group of food bloggers who believe that Sunday should be a family fun day, so every Sunday we share recipes that will help you to enjoy your day. If you're a blogger interested in joining us, just visit our Facebook group and request to join.

Pin this Buttermilk-brined Roast Chicken Crown!

Food Lust People Love: After 24 hours of marinating, and a hour + in a hot oven, this buttermilk-brined roast chicken crown is tender and juicy inside with the most delectable golden skin outside!

 .